Recently a group of my friends and I were processing meat from field to table and our knives were getting dull. Using a dull knife can cause serious injury because you have to work harder to slice through the material. This increases the likelihood of cutting yourself. This being the first time we had processed together; we discovered some differences in the way we sharpened our knives. However, the basic practices remained the same no matter what our personal choice was for sharpening.
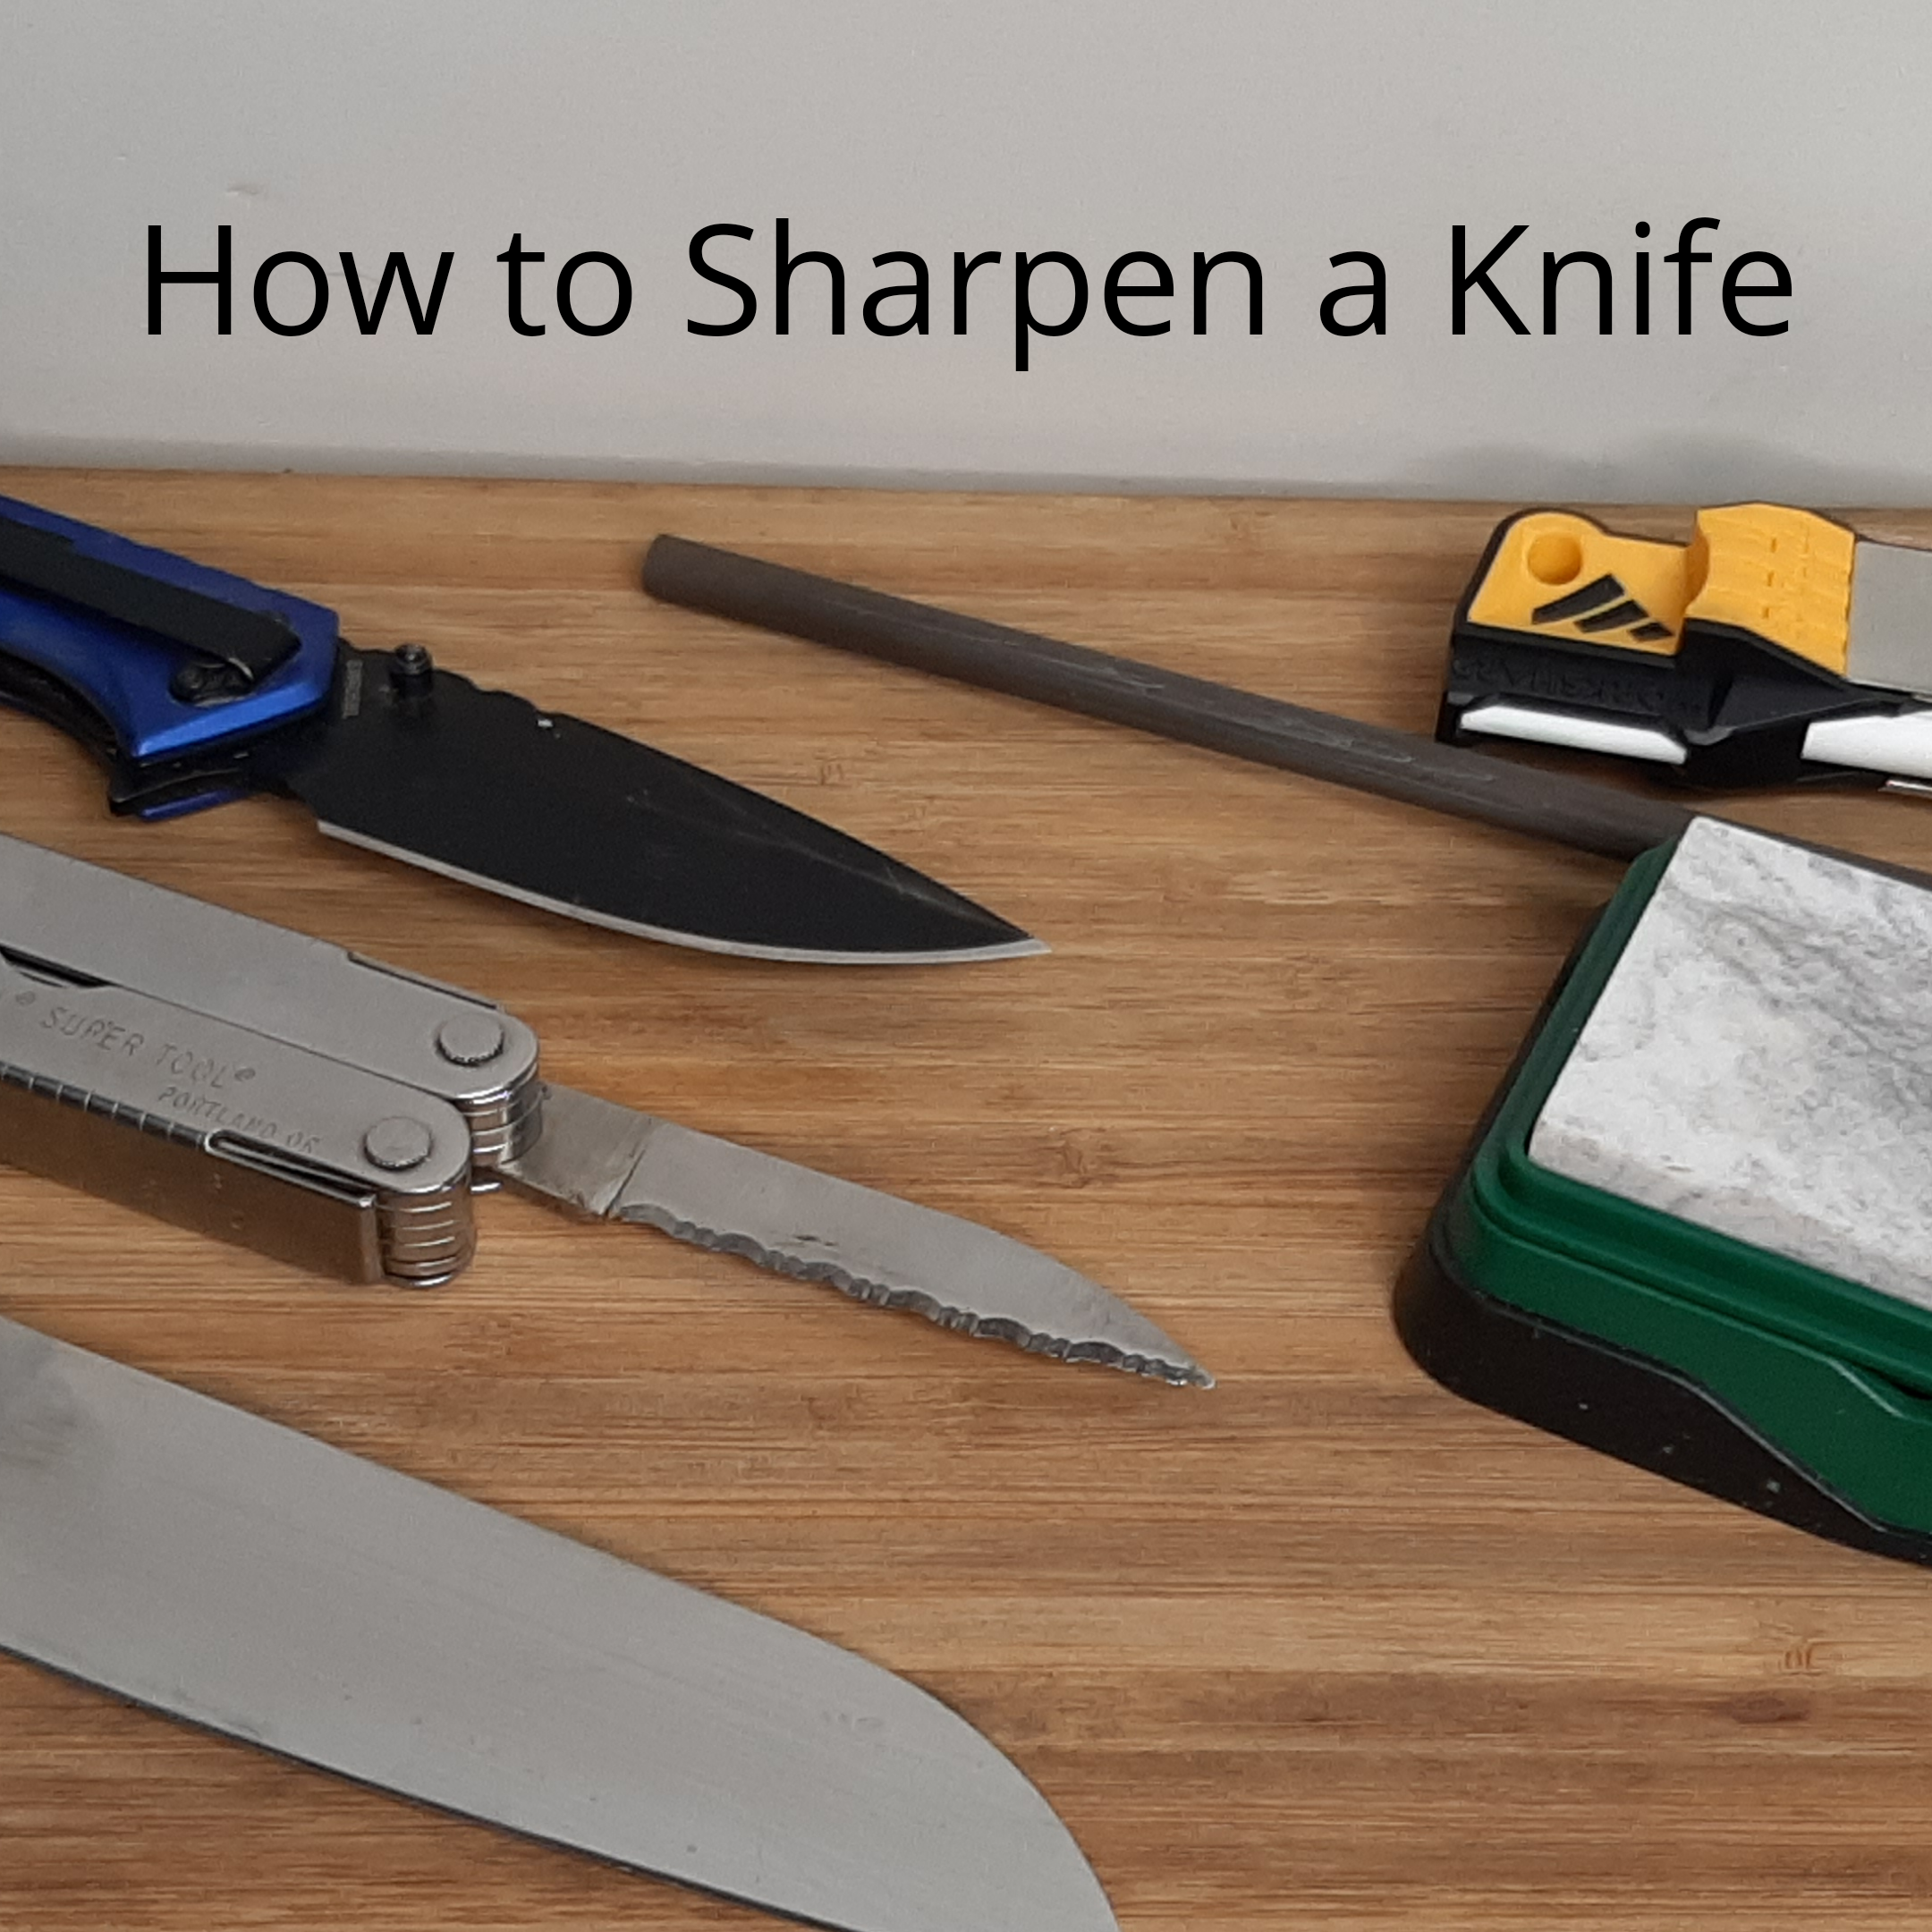
How to Sharpen a Knife
- Determine the angle to sharpen your knife.
- Follow manufacturer’s guidelines for your stone regarding lubrication
- Start with a rough grit, grinds steal down, and move to a fine grit, sharpen or hone, to finish the blade
- Drag the knife edge backwards across the stone. Never cut towards yourself.
- Turn the knife over to repeat the process on the rough grit to create a new edge.
- Change to a finer grit stone and repeat steps 4 and 5.
- Start alternating passes on the fine grit stone. One pass on a side and turn over and a pass on the new side.
Determine the angle to sharpen your knife. If you do not know the angle of your knife blade, ask the manufacture or check with a knife shop. This will help determine what angle is suitable for your blade. Sharpening a knife at a different angle takes longer for rough angles to be corrected.
Stepper angles hold their edge better. I recommend 20 to 22.5 degrees as a compromise between to shallow or to steep of angles (10-30 degrees)
To find 22.5 degrees, start with your knife at 90 degrees to the stone, then have that to 45 degrees angle and half that again to 22.5 degrees. Or you can make a paper guide using the guide below.
Start with paper that has 90 degree corners.

Make one fold that creates a 45 degree angle

Fold the 45 degree edge to the 90 degree edge. This creates a 22.5 degree angle.

Follow manufacturer’s guidelines for your stone regarding lubrication. Most common stones are made from carborundum, trademark for silicon carbide, and can be used wet or dry. The stone will be labeled as an oil stone if it pre oiled or are designed for use with oil. Lubricating your stone will allow the blade to move across the stone easier and keep steel shavings from clogging the stone’s pores.
Start with a rough grit, grinds steal down, and move to a fine grit, sharpen or hone, to finish the blade. The rough grit side of the stone is there to grind down the edge of your knife and the fine grit side is there to help sharpen or hone the edge of your knife.
Before you start to run the blade across the stone it is important to check the angle of the edge. Using the guard displayed above or some other angle guide to maintain the desired angle while dragging the blade across the stone’s surface

Twin Oaks Northern Outdoors Pro Tip: Color both sides of the blade’s edge with a permanent marker. This will help you see if the marker is being removed in the sharpening process.

**Safety First: Never cut or sharpen towards you. The knife could slip and you could be injured before you knew it.
Drag the knife edge backwards across the stone. With the colored edge touching the stone and starting at the grip, drag the blade away from you across the stone moving towards the point as you go. The reason we go backwards is to help prolong the life of our stone and it allows a burr to form on the blade.

Turn the knife over to repeat the process on the rough grit to create a new edge. Once you have removed the marker from once side, turn the knife over and repeat this process on the new side. Once both sides have no marker left you have created a new edge.

The other way to determine if you have removed enough metal is feeling for a burr to be raised. This is a natural forming feature of steel and when one beveled surface meats another it is formed.
They are hard to see but can be felt by lightly scrapping your thumb across the blade edge moving from dull side to sharp side. These are still on the blade only smaller with finer grit stones
Change to a finer grit stone and repeat steps 4 and 5. Repeating the process on a finer grit stone allows you to the rough edge to a honed edge. This means you are working to remove the ground burrs and smooth the overall edge of the knife.
Start by repeating the sharpening process in the previous steps. Start with once side and then the other with the finer grit stone.
Start alternating passes on the fine grit stone. Once both sides have been honed, you can start making alternating passes on the finer grit stone. One pass on a side and turn over and a pass on the other side. Repeat this step several times for the sharpest edge.
This process leaves a microscopic serrated edge that helps with slicing. When a knife or blade is dull it has lost these microscopic serrations. This makes it harder to cut through materials and can lead to injury. The use of a sharpening steel (honing rod) can help your blade from losing its edge.
How to use a Sharpening Steel (Honing Rod)
The Sharpening Steel, or “Steel” as it is commonly referred to, are used to keep knife edges sharp between uses. They are not regularly used to reshape and sharpen the blade edge like course and fine grit stones.
- What does a steel do to a knife? The steel realigns the blade edge. Any flat spots, nicks or dents are worked out. This process does note remove a large amount of metal compared to using a stone.
- Regular use of a steel reduces the need for stone sharpening. Using a stone can remove metal from your blade. The less a stone is used, the longer your knives will last because you are not removing significant amounts of metal from the blade.
How to use a Steel
- Position the steel in your non-dominant hand.
- Select the proper angle with the knife in your dominant hand.
- Steel the edge 6-8 times before use.
Position the steel in your non-dominant hand. There are two options here: 1) point the tip of the steel down towards a cutting board or towel. 2) Holding the rod tip above the handle and pointing away from your body.
Select the proper angle with the knife in your dominant hand. With your thumb on the spine of the knife and a firm grip with your fingers on the handle. Hold the knife to the steel at approximately 20 degrees. Maintain this approximate angle or angle you choose during the process or it won’t hone the blade and will leave flat spots, nicks or dents in the blade.

Steel the full edge 6-8 times before use. Using a slicing motion, start that the handle of your knife and move to the tip while dragging the blade across the top of the steel. Then repeat the process on the bottom side of the steel. If using the cutting board method, down one side and then the other always cutting away from your body.
Remember when using a stone or a steel to dress your knife edges, always give them the same number of strokes to keep the blade edge even.
How to Sharpen a Serrated Knife
Most folks carry a straight or flat blade knife and others carry serrated knives. No matter which one you have or use, they all need to be sharpened. Sharpening a serrated knife takes a special tool called a sharpening rod. Usually smaller sharpening rods work better but use the one that matches the groove in the serrated blade. This groove is called a gullet.

How to Sharpen a Serrated Knife
- Use the correct size sharpening rod.
- Put the rod in the gullet of the blade.
- Slowly and smoothly move the rod away from the knife.
- Do not sharpen wider than the gullet.
Use the correct size sharpening rod. Depending on the size of the gullets in your serrated blade, will help determine the size of the rod you will need. Some rods are tapered to help fit a variety of gullet sizes.
Put the rod in the gullet of the blade. It is important to follow the angle of the gullet. Since serrated knives are only sharp on one side of the blade there will be no need to flip the blade over to hone the other side.

Slowly and smoothly move the rod away from the knife. Move the in one direction slowly to maintain contact with the gullet. Sharpen each gullet until you have completed the blade. Take your time and make sure it is done right.
Similar to sharpening a chainsaw blade, this has one cutting side and is important to keep it sharp.
Do not sharpen wider than the gullet. Do not use a sharpening rod that is larger than you need for the gullets of your knife. This can damage your blade and reduce how effectively it cuts.
Twin Oaks Northern Outdoors Pro Tip: practice sharpening cheaper serrated knives before you start to sharpen your expensive serrated blade knife.
Let’s recap what we have learned.
Sharpening a knife is a process of saving a blade that become dull. While a Steel is used between sharpening and can prolong the life of the knife. Serrated blade knives take a different set of tools to sharpen but all knives need to sharpened. Maintaining the edge of the knife reduces the possibility of being injured from having to force a dull knife through material. There will be a time that a sharp knife will save you time. But be mindful of that sharp edge and point as they do not know the difference between your finger or hand and what you are trying to cut.
Remember to have the correct tools to sharpen your knives. There is also a difference between sharpeners and they are not all the same quality. Ask questions when you are shopping for stones, steel and sharpening rods. Get the best equipment you can afford and upgrade as you can afford to. It never hurts to have a sharpening tool in your pack.
